Keeper: Setting up a New Record (Demo)


Are you new to using Keeper, the password manager app? Don’t worry, setting up a new record is easy! In this blog post, we’ll walk you through the steps to set up a new record in Keeper.

Step 1: Open the Keeper app
The first thing you need to do is open the Keeper app on your device. If you haven’t installed the app yet, you can download it from the App Store or Google Play Store.

Step 2: Navigate to the “Records” tab
Once you’ve opened the app, you’ll see a menu at the bottom of the screen. Tap on the “Records” tab to access your existing records or create a new one.

Step 3: Add a new record
To add a new record, tap on the “+” icon in the top right corner of the screen. You’ll then see a list of record types to choose from, such as Login, Credit Card, or Secure Note. Select the appropriate record type for the information you want to store.

Step 4: Enter your information
After you’ve selected the record type, you’ll be prompted to enter the information you want to store. For example, if you’re setting up a Login record, you’ll need to enter the website URL, username, and password. Keeper also allows you to add additional fields, such as security questions or notes, to your record.

Step 5: Save your record
Once you’ve entered all the information, tap on the “Save” button in the top right corner of the screen. Your new record will be saved and added to your Records list.

That’s it! You’ve successfully set up a new record in Keeper. Repeat these steps to add any additional records you need to store in Keeper.

Keeper is a powerful password manager app that can help you keep your online accounts secure. By setting up new records for your login information, credit card details, and other sensitive information, you can ensure that your data is safe and easy to access when you need it. With Keeper, you’ll never have to worry about forgetting a password or losing important information again.

CoinZoom: Where to find the transaction hash ID

In this short training video, we will show you how to locate the transaction hash ID on CoinZoom.

After making a transfer, click on the transactions tab and change the filter to show only the transactions for the currency you used in the transaction. In this demo, we used USDT.

Once you have filtered the transactions, locate the specific transaction and click on the lowercase “i” symbolizing info. A box will appear displaying the wallet you transferred the funds to and the transaction hash ID.

If the transaction hash ID does not appear, it means that your transfer has not been registered on the blockchain yet. In this case, close the box, refresh the page, and try again later.

Remember, locating the transaction hash ID is crucial for tracking your transactions and ensuring that they have been successfully processed on the blockchain.

CoinZoom: Convert USDT to USD

In this short demo, I will show you how to convert your cryptocurrency back into USD on coin Zoom. To get started, log into your coin Zoom account and from the main trading screen, click on USD. This will sort all of the USD pairs. In order to convert one currency into another, it has to be paired with the currency you are converting it into. For the purposes of this demonstration, usdt is being converted. To sell usdt, locate the usdt/usd pair by typing usdt into the market search box located on the top left corner of the trading screen. Once you have identified the currency you want to convert, go down to the bottom of the screen and click on sell. Since we are converting a stable coin to keep it simple, you can use a market order. Type in the amount of usdt you would like to sell and then click the red sell usdt button. A new box will pop up letting you know that the order was received. That’s it! You have now converted your crypto back to the US dollar and it is ready to be transferred back to your bank.

Weekly Crypto Meeting: $5K to $100K Per Month Strategy 05-03-23

In this meeting you will hear Glen’s strategy on how to create $100k/mo income starting with $5K.

Cashapp: Overview & Limits


Cash App is a fast, simple, and easy tool to buy, sell, and transfer Bitcoin. Cash App is useful as a vehicle to move funds quickly, but there are limitations that you need to be aware of.

For example, you can convert up to $100,000 US Dollars into Bitcoin per week, but you can only transfer up to $2,000 a day and no more than $5,000 per week. Additionally, if you are using Cash App to off-ramp profits, the limit is $10,000 per week.

What does this mean? This means that when you earn profits in crypto, you can convert the profits to Bitcoin and then send your profits to Cash App and convert it from Bitcoin back into USD, and then deposit it directly into your bank account. And you can take out up to $10,000 per week.

You should be aware that Cash App is a centralized app, and all of your activity will be reported to the IRS. But overall, as a tool to convert USD to BTC, Cash App is the fastest and easiest to learn. You might end up catching some additional fees that you could avoid when using an exchange, but if you’re looking for speed and ease, it doesn’t get any better than Cash App.

 If you don’t already have Cash App downloaded on your phone, then watch the video labeled “Cash App setup and installation.” If you already have Cash App on your phone, you can skip ahead to the video labeled “Buy and transfer Bitcoin on Cash App.”

Trust Wallet: Overview


In this video, we will discuss the difference between a centralized wallet and a decentralized wallet. And why we need both?

The main difference between a centralized wallet and a decentralized wallet is in how they are managed and who has control over the user’s funds.

A centralized wallet is managed by a third-party service provider such as an exchange or a custodian which holds the user’s funds on their behalf. The user typically needs to create an account with the service provider, and the provider manages the user’s private keys and controls access to the wallet. The user needs to trust the service provider to secure their funds and protect their privacy as the provider has complete control over the wallet.

Although there is a time and place for using a centralized exchange such as CoinZoom, Coinbase, or Gemini, you are never fully in control over your funds. Additionally, some platforms now require that we transfer funds from a decentralized wallet such as Trust Wallet, which is managed by the user themselves without the need for a third-party service provider.

With a decentralized wallet, the user has full control over their private keys and can securely store and manage their funds, all without relying on a central authority. The user also has complete privacy as their personal information is not shared with any third-party service provider. This is key to getting off of the financial grid.

Decentralized wallets are often considered more secure and private than centralized wallets as they are not vulnerable to centralized hacking and data breaches. However, they require more technical knowledge and responsibility from the user as they are responsible for keeping their private keys safe and securing their wallet from many potential threats.

In summary, the main difference between a centralized and a decentralized wallet is in who has control over the user’s funds and how the wallet is managed. While centralized wallets provide convenience and ease of use, decentralized wallets provide greater security and privacy.

A decentralized wallet like Trust Wallet is a software application that allows users to securely store, manage, and transfer their digital assets such as cryptocurrencies and tokens without the need for a centralized intermediary. Trust Wallet is a non-custodial wallet, which means that the user has full control over their private keys and funds.

Trust Wallet uses strong encryption to protect the user’s private keys and passwords, and the user can create a backup of their wallet by writing down a recovery phrase, which can be used to restore their wallet in case they lose their device or forget their password. There are zero reports of Trust Wallet being hacked.

When a user first downloads and installs Trust Wallet, they are prompted to create a new wallet. The user is provided with a private key, which is a unique sequence of letters and numbers that serves as the user’s digital signature and allows them to access their wallet and sign transactions.

To add funds to their wallet, the user can either receive them from another wallet or purchase them from a cryptocurrency exchange and send them to their Trust Wallet address. Once the funds are in the wallet, the user can view their balance and manage their assets such as buying, selling, and trading cryptocurrencies. Trust Wallet supports a wide range of cryptocurrencies.

When the user wants to send funds to another wallet, they can create a transaction and sign it using their private key. The transaction is then broadcast to the network and verified by other nodes, and once it is confirmed, the funds are transferred to the recipient’s wallet.

Overall, Trust Wallet provides a secure and convenient way for users to store, manage, and transfer their digital assets without relying on a centralized intermediary.

In the next training video, we will go through the steps to download and set up your new Trust Wallet.

Keeper Security: Setup Password Encryption & 2FA Security


Trust Wallet is a free decentralized crypto wallet. It is user-friendly and has had zero known hacks. From the Apple or Google Play Store, search for and download Trust Wallet. We’re going to set up your wallet in a specific way. It’s important that you follow the steps laid out in this video exactly as I have explained.

Once you have downloaded Trust Wallet onto your phone, select “Create a new wallet.” You will access your new Trust Wallet with a six-digit passcode that you create. It’s important that you keep this passcode in a safe and secure location.

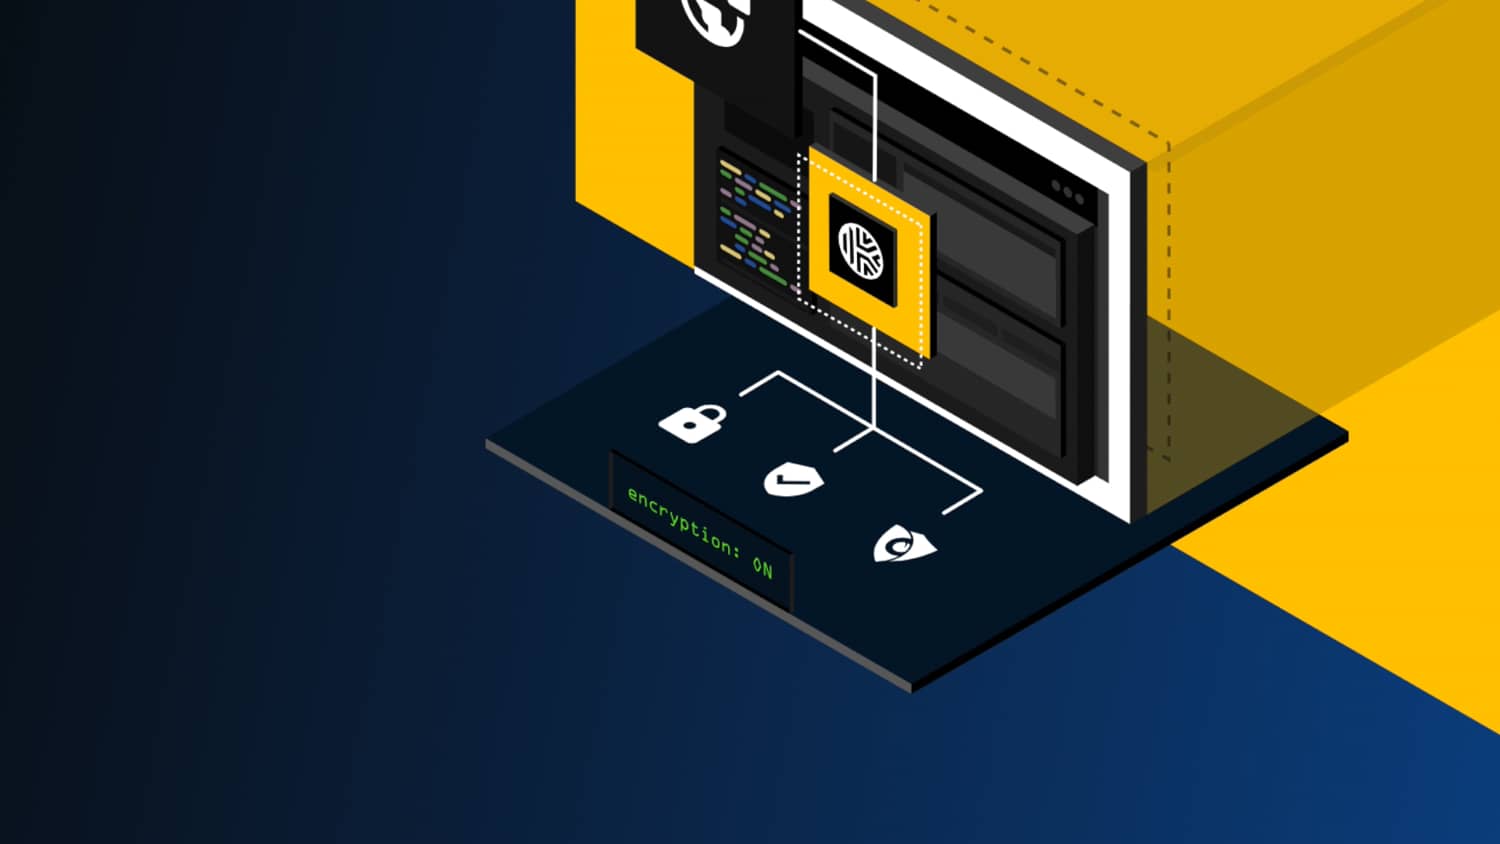
Your backup secret phrase is your seed phrase. This is the key to being able to access your new decentralized wallet. I recommend backing it up manually. The secret phrase is the master key to your wallet.

You have to check each of these statements confirming you understand that if you lose your secret phrase, your funds will be lost forever. If you expose or share your secret phrase with anyone, your funds can be stolen. Trust Wallet support will never reach out and ask for it.

Bottom line is your secret phrase is important. Make sure you take your time and your secret phrase is well-documented and safe. Once you have checked all of the statements, hit “Continue.”

Take a screenshot and then make sure that it is stored somewhere off your phone. Don’t leave the original picture in your photos on your phone. If you use Keeper Security, make sure to take the time to know each word and the specific order they are given to you. If you use a journal, write the words out in the correct order. This is an important step. Take your time.

Once you have documented your secret phrase and its correct order, hit “Continue.” Never share your secret phrase with anyone. Your 12-word secret phrase is the only way to recover your wallet. Store it securely, hit “Continue.”

You will be asked to verify your secret phrase in the exact order it was originally shown in order to be sure that you have documented it properly. Hit “Continue.”

You can move past the “Let’s explore your new wallet” by exiting the screen at the top right. You can buy crypto directly from your new decentralized wallet, but you will find that the fees are much higher this way. In our training, we recommend buying your crypto from an exchange like CoinZoom to save money.

You can exit out of this screen. You can also deposit and store your NFTs in your Trust Wallet, but this is not relevant for the purposes we will be using the wallet. So you can exit out of this screen also.

This is the message that is most relevant for how we are going to use our Trust Wallet, but we’re going to show you how to use this feature so you can exit out of this screen also.

Now your wallet is ready for use. Remember, this is a decentralized application, which means there is no KYC process. You can immediately begin using your wallet. Click the “Start using Trust Wallet” button located at the bottom of the screen.

There are still a few things we need to do in order to be completely set up and ready for use. Opt-in for push notifications. Since you are managing your funds, I recommend turning this feature on so you know when funds are received and when they are sent out. The only time you won’t get a push notification is when someone airdrops your crypto into your wallet, but if it’s a normal transfer, you’ll know as soon as the crypto clears the blockchain and lands in your wallet. Click “Enable.”

This is your main screen in Trust Wallet. Before we get started, let’s reorganize the tokens that we are going to be using the most and get rid of some of these tokens that we’re not going to use. 

You can always add tokens back later. It’s very simple. Click on the “Add tokens” icon located at the bottom. To remove a token, all you have to do is toggle the button off. For now, let’s get rid of B&B Beacon Chain, Trust Wallet TWT, and B&B Smart Chain unless you have another need for these tokens.

To add tokens, use the search bar located at the top of the screen. Bitcoin and Ethereum are already displayed. The tokens you will want to add are Tether USDTE RC20 and USD/C ERC20. This is good for now.

Search for and add USDT and USDC by turning them both on, like shown on the left, unless you have a need for other tokens. Your page should now have Bitcoin, Ethereum, USDT, and USDC. Hit the “Done” button at the top of the screen.

If your Trust Wallet was new and you followed all of the steps that were laid out in this training video, your new home screen should look like this. The next video will work on transferring funds into your new wallet. It’s going to be a little different at first, and there are some specific things you will need to learn, but we can cut the learning curve tremendously if you follow these training videos exactly.

Take your time. You are learning some amazing new skills and well on your way to becoming the bank.

Anonymous: Matrix Strategy Session (Daytime) 03/02/23


Anonymous: Matrix Strategy Session (Daytime) 03/02/23

Scalp: 05/01/2023 Revised Strategy Session w/o Bonuses and Gold to Gold 80/20


Scalp: 05/01/2023 Revised Strategy Session w/o Bonuses and Gold to Gold 80/20

Anonymous: Private and Confidential Recording of CEO Feb 2023


Anonymous: Private and Confidential Recording of CEO Feb 2023