Anonymous Scalp: Funding Scalp Account w/ USDT or USDC


In this short demo, I will show you how to fund your scalp account using USDT or USDC.

  1. Log into your scalp account and click on the green “Fund Now” button.
  2. Click on the green “Select” button in the USDT block.
  3. In the pop-up box, select “ERC20” as your network and copy the deposit wallet address.
  4. Paste the deposit wallet address in the send area of the wallet or exchange from which you are sending USDT or USDC.
  5. Type in the exact amount of crypto that you sent Anonymous and paste the transaction hash ID.
  6. Hit the green “Confirm Deposit” button.
  7. Once you hit “Confirm Deposit”, the amount and transaction hash ID will show up on the right side of the page under “Deposit History”.
  8. Once the deposit has cleared, it will reflect on the dashboard with the matching bonus included. The amount of time it takes to clear is dependent on the traffic that Anonymous is getting.

If you have any questions about your deposit or are using a special promo, be sure to communicate with support by opening a new chat.

Anonymous Scalp: Change Password

In this short demo, I will show you how to change your password in your Scalp account.

Here’s how to change your password:

  1. After you log into your Scalp account, click on the profile icon located at the top right corner of the login page. Click “My Profile”.
  2. On the settings page, enter your current password and then enter the new password that you would like to add to your account.
  3. Re-enter the password again to verify it’s correct.
  4. Then hit the “Update” button.
  5. That’s it! You have now changed your password.
  6. Log out and then log back in using the new password to be sure it was done correctly.

Please keep your password in a safe location that only you have access to.

Trust Wallet: Setup & Installation


Trust Wallet is a free decentralized crypto wallet. It is user-friendly and has had zero known hacks. From the Apple or Google Play Store, search for and download Trust Wallet. We’re going to set up your wallet in a specific way. It’s important that you follow the steps laid out in this video exactly as I have explained.

Once you have downloaded Trust Wallet onto your phone, select “Create a new wallet.” You will access your new Trust Wallet with a six-digit passcode that you create. It’s important that you keep this passcode in a safe and secure location.

Your backup secret phrase is your seed phrase. This is the key to being able to access your new decentralized wallet. I recommend backing it up manually. The secret phrase is the master key to your wallet.

You have to check each of these statements confirming you understand that if you lose your secret phrase, your funds will be lost forever. If you expose or share your secret phrase with anyone, your funds can be stolen. Trust Wallet support will never reach out and ask for it.

Bottom line is your secret phrase is important. Make sure you take your time and your secret phrase is well-documented and safe. Once you have checked all of the statements, hit “Continue.”

Take a screenshot and then make sure that it is stored somewhere off your phone. Don’t leave the original picture in your photos on your phone. If you use Keeper Security, make sure to take the time to know each word and the specific order they are given to you. If you use a journal, write the words out in the correct order. This is an important step. Take your time.

Once you have documented your secret phrase and its correct order, hit “Continue.” Never share your secret phrase with anyone. Your 12-word secret phrase is the only way to recover your wallet. Store it securely, hit “Continue.”

You will be asked to verify your secret phrase in the exact order it was originally shown in order to be sure that you have documented it properly. Hit “Continue.”

You can move past the “Let’s explore your new wallet” by exiting the screen at the top right. You can buy crypto directly from your new decentralized wallet, but you will find that the fees are much higher this way. In our training, we recommend buying your crypto from an exchange like CoinZoom to save money.

You can exit out of this screen. You can also deposit and store your NFTs in your Trust Wallet, but this is not relevant for the purposes we will be using the wallet. So you can exit out of this screen also.

This is the message that is most relevant for how we are going to use our Trust Wallet, but we’re going to show you how to use this feature so you can exit out of this screen also.

Now your wallet is ready for use. Remember, this is a decentralized application, which means there is no KYC process. You can immediately begin using your wallet. Click the “Start using Trust Wallet” button located at the bottom of the screen.

There are still a few things we need to do in order to be completely set up and ready for use. Opt-in for push notifications. Since you are managing your funds, I recommend turning this feature on so you know when funds are received and when they are sent out. The only time you won’t get a push notification is when someone airdrops your crypto into your wallet, but if it’s a normal transfer, you’ll know as soon as the crypto clears the blockchain and lands in your wallet. Click “Enable.”

This is your main screen in Trust Wallet. Before we get started, let’s reorganize the tokens that we are going to be using the most and get rid of some of these tokens that we’re not going to use. 

You can always add tokens back later. It’s very simple. Click on the “Add tokens” icon located at the bottom. To remove a token, all you have to do is toggle the button off. For now, let’s get rid of B&B Beacon Chain, Trust Wallet TWT, and B&B Smart Chain unless you have another need for these tokens.

To add tokens, use the search bar located at the top of the screen. Bitcoin and Ethereum are already displayed. The tokens you will want to add are Tether USDTE RC20 and USD/C ERC20. This is good for now.

Search for and add USDT and USDC by turning them both on, like shown on the left, unless you have a need for other tokens. Your page should now have Bitcoin, Ethereum, USDT, and USDC. Hit the “Done” button at the top of the screen.

If your Trust Wallet was new and you followed all of the steps that were laid out in this training video, your new home screen should look like this. The next video will work on transferring funds into your new wallet. It’s going to be a little different at first, and there are some specific things you will need to learn, but we can cut the learning curve tremendously if you follow these training videos exactly.

Take your time. You are learning some amazing new skills and well on your way to becoming the bank.


CoinZoom: Wire Transfer Withdrawal

In this short demo, I will show you how to do a wire transfer withdrawal from CoinZoom. In order to do a withdrawal from CoinZoom, you will first need to convert your crypto back to the United States dollar or USD. In this video, we will only be focusing on the wire transfer process. I will show you how to convert your crypto into USD on another training video.

Before you can do a wire transfer, you must first add your bank account information to CoinZoom. Here’s how to do it:

  1. Click on the “Settings” tab and then click on the “Bank Details” tab located on the left of the screen.
  2. Click on the green “Add Bank” button.
  3. There are two methods to add your bank details. You can use Plaid for instant verification or you can manually add your bank’s details.
  4. In this demo, we will manually add our bank details. You will need the name on the bank account you are wiring funds to. The name on the bank account should match the name on the CoinZoom account.
  5. Next, you will need the name of the bank and what type of account you are sending funds to. Is it a checking account, a savings account, or a money market account?
  6. You will need the account number and the routing number. Pay close attention to the routing number box. If you want to do a wire transfer (which could be faster), make sure you add your bank’s wire number and not the routing number that is located at the bottom left of your checks. If you use your standard routing number, it will default to an ACH transfer. If you don’t know your bank’s wire number, log into your bank account or call them.
  7. You do not need the Swift number. A Swift code is used for international bank wires. You need your bank’s domestic wire number.
  8. Once you have added all of your bank details, hit the green “Submit” button.

Now, here’s how to do a wire transfer withdrawal from CoinZoom:

  1. From the “Portfolio” window on CoinZoom, locate USD. It will always be the first currency that shows up in your portfolio. Go all the way to the right and click on the red “Withdrawal” button.
  2. Click on the “Wire Withdrawal” tab.
  3. Select the bank you are wiring funds to, then type in the amount you are sending. The minimum amount you can withdraw using the wire method is $100.
  4. You will also need to select where the fee for the wire will be deducted. As a reminder, CoinZoom charges a $25 wire transfer fee.
  5. Most banks won’t require a special note, but if you’re not sure, call your bank and ask them if there needs to be a reference code or special note attached to an incoming domestic wire transfer.
  6. Hit the green “Submit” tab and apply your 2FA approval code.

That’s it! You have successfully taken a wire transfer withdrawal from CoinZoom.

CoinZoom: How to Convert USD to USDT (Tether)

In this short demo, I will show you how to convert your US dollars into USDT on CoinZoom. USDT is considered a stablecoin – a type of cryptocurrency that is designed to maintain a stable value relative to a specific asset, such as a fiat currency like the US dollar. This is in contrast to traditional cryptocurrencies like Bitcoin, whose value can fluctuate rapidly and dramatically.

To achieve stability, stablecoins use a variety of mechanisms, such as pegging their value to a fiat currency, holding reserves of the underlying asset, or using algorithms to adjust the supply of the stablecoin based on demand. Stablecoins are often used as a medium of exchange in the cryptocurrency ecosystem, as their stable value makes them less volatile and more predictable than other cryptocurrencies.

Here’s how to convert your US dollars into USDT on CoinZoom:

  1. Log into your CoinZoom account.
  2. Type “USDT” into the market search window located near the top left corner of the main trading screen.
  3. Focus your attention on the bottom right portion of the screen. You don’t need to adjust the settings. Keep this demo simple.
  4. All you need to do is type in the amount of USDT you want to buy in the box labeled “Amount.” CoinZoom charges a small fee, which is a percentage of 0.22% up to 44% of the amount of crypto you are purchasing.
  5. Hit the green button labeled “Buy USDT.” CoinZoom will fill the order, and when the order is complete, it will show under the “Portfolio” tab.

Anonymous Matrix: USDT Withdrawal from Matrix Account

In this short training video, I will demonstrate how to take a withdrawal from your Anonymous Matrix trading account.

Here’s how to take a withdrawal:

  1. From the home screen, go to the cash balance section.
  2. Click on the three dots located in the top right corner of the cash balance section.
  3. Click on the “Withdrawal” option.
  4. On the withdrawal page, you’ll see two sections: one for the amount you want to withdraw and the other for where you would paste your USDT Tether wallet address. This would be an ERC20 wallet address.
  5. If you don’t know where to get your USDT Tether wallet address, watch the short training video labeled “How to Retrieve Your Wallet Address”.
  6. Paste the wallet address in the box labeled “Your USDT Tether Wallet Address”.
  7. Add the amount you are requesting and hit the “Request Transfer” button.
  8. You can see the withdrawal request processing over on the right side under “Withdrawal History”. Below are all the completed transfers.
  9. Once the transfer has been fully processed, it will show as completed and it will show up in the wallet or on the exchange that you sent the funds to.

That’s it! Now you know how to take a withdrawal from your Anonymous Matrix trading account.

CoinZoom: How to Complete KYC

In this short training video, I will walk you through the process of completing your CoinZoom registration.

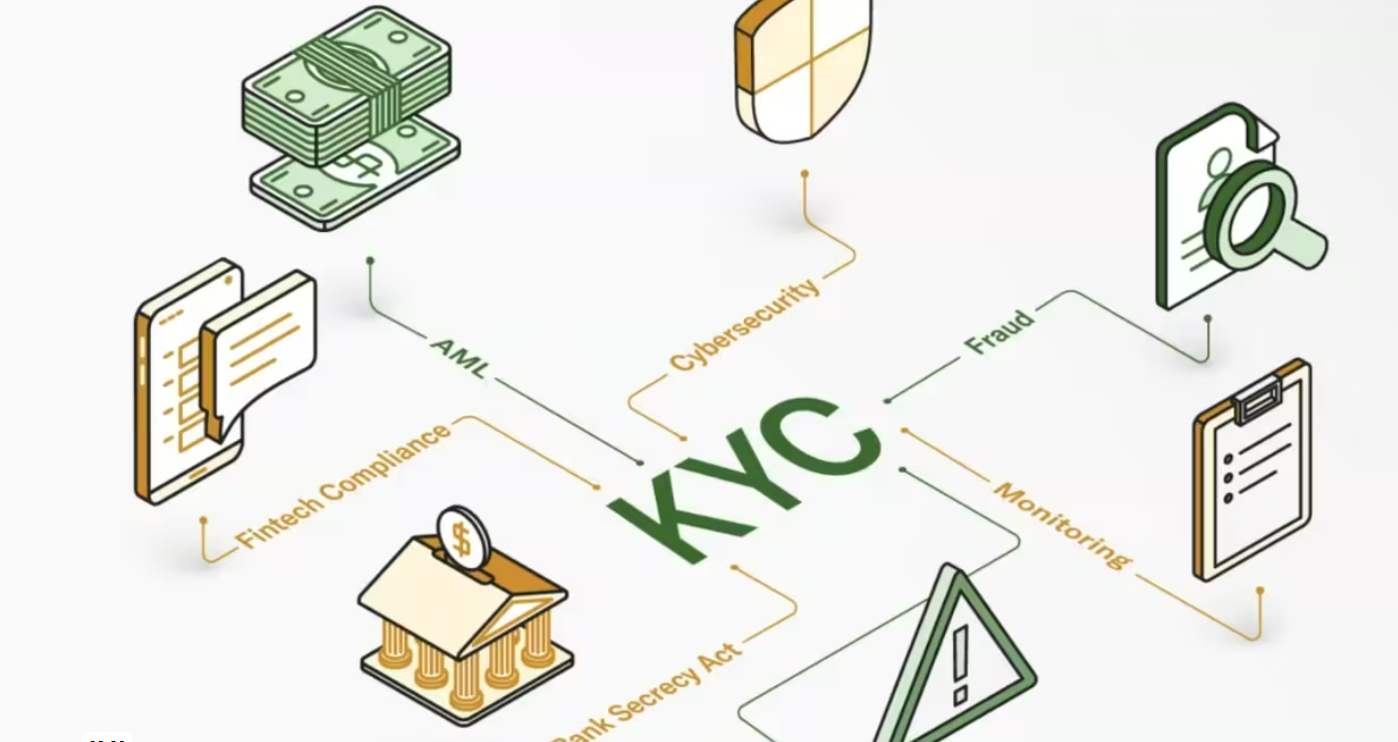
To become fully registered with CoinZoom, you will need to complete the KYC process using your smartphone. Make sure to watch this training video first. It’s a simple process, but it’s not exactly obvious, so take your time.

After you have completed the basic CoinZoom registration, go to Settings and then Profile. You can either scan the QR code from your phone or go to the app store or Google Play (depending on whether you have an iPhone or Android) to download the CoinZoom app. Then, log in using the email address and password you used to set up your CoinZoom account.

On the bottom right-hand side of the app, click on “Zoom Me.” Then click on the profile image located at the top right-hand corner. From this page, you should see an icon at the top left-hand corner that looks like a camera icon or three dots. Click on that icon. It should give you a pop-up box that says you can’t access this feature until your KYC is completed. Hit OK to start the KYC process from your mobile device.

You will need either your driver’s license, passport, or an official government ID. Enter the last four digits of your Social Security number, and then pick the ID file that you are going to use. For this demo, I am picking the driver’s license. Hit next.

Now, you will need to scan your driver’s license, passport, or government ID. Take your time, and look at your phone. It will alert you when you are too close or too far. Make sure you get a good, clean picture of your ID. Do the same for the back of the ID – it has to be a clean image.

Finally, take a selfie. The app will guide you if you are too close or too far away, and then it will tell you to blink. That’s it!

Once they complete your KYC and registration, CoinZoom will send you an email. If they reject your application, you can apply again. You have three chances to get it right, so don’t rush. Make sure the pictures are clean and clear.

Anonymous Scalp: Affiliate Link and Enrollment Process

In this short training video, I will show you where to get your affiliate referral link for the SCALP program.

Here’s how to get your affiliate referral link:

  1. Log into your SCALP account.
  2. Click on the “Noni Earn” program. You will be redirected to the affiliate website. The email address and password will be the same as what you used to log into your SCALP account.
  3. Once you are logged into the affiliate site, click “Campaigns” and copy your unique link.
  4. It is important to remember that when opening a new SCALP account, you should open a new incognito browser in Chrome. Click on the three dots located at the top right corner of Chrome, then click on “New Incognito Window.”
  5. Paste the affiliate link into the incognito window. When the registration page populates, there should be a red banner with an affiliate ID number located at the bottom. It is important that this is done correctly. Once an account is opened, it cannot be moved.
  6. If the account is funded, the referral fees will be paid instantly, but you will not get credit for them. Make sure you take your time.
  7. Once the enrollment is complete, go back to your affiliate back office. Click on “Noni” or “Network” and verify that the enrollment was placed where you want them placed. The only time someone has to use an incognito browser is during the enrollment process.
  8. Once the account is opened, it can be accessed from anywhere.

That’s it! Now you know how to get your affiliate referral link for the SCALP program.

[mwai_chatbot_v2 id=”content-aware”]

CoinZoom: Deposit via Wire Transfer

If you want to fund your CoinZoom account quickly and cost-effectively, the best method is to initiate a wire transfer. Here are the steps to follow:

  1. Log into your CoinZoom account and click on the “Portfolio” tab.
  2. The first currency in your portfolio will be the US dollar. Scroll all the way to the right and click on “Deposit.”
  3. There are multiple methods available to fund your CoinZoom account, but be aware of the fees and wait times associated with each of them. For example, if you do an ACH deposit instead of a wire deposit, CoinZoom could hold your funds for up to 21 days.
  4. Click on the “Wire Transfer” tab. When you initiate a wire transfer, it may take two to three days. However, this is usually only the case for the first time you wire funds to CoinZoom. Once you’ve established a relationship with them, it should be even faster.
  5. To perform a successful wire transfer, you will need to know the following information:
  • Name of the recipient: CoinZoom Incorporated
  • CoinZoom’s physical address
  • CoinZoom’s account number at their bank
  • The routing number for the bank that CoinZoom uses for wires
  • Your account reference number, which identifies your CoinZoom account. This is the most important piece of information to remember. If it is omitted or incorrect, CoinZoom will not know where to send the money and the wire will be returned.
  1. You may also need CoinZoom’s bank name and address, which can be found on the wire deposit instructions screen.
  2. Send this information to your financial institution to initiate the transfer, making sure to include your unique account identifier.
  3. Once the funds clear, they can be converted into cryptocurrency. The process for converting funds into crypto will be discussed in the next video.
  4. If this is your first time wiring funds to CoinZoom, they may place a seven-day hold on the funds. If that happens, you can open a support ticket and they will help you get the funds released quicker.

Webinar: Friday Afternoon Strategy Session 04-28-2023


Strategy Session Webinar held on 04-28-2023